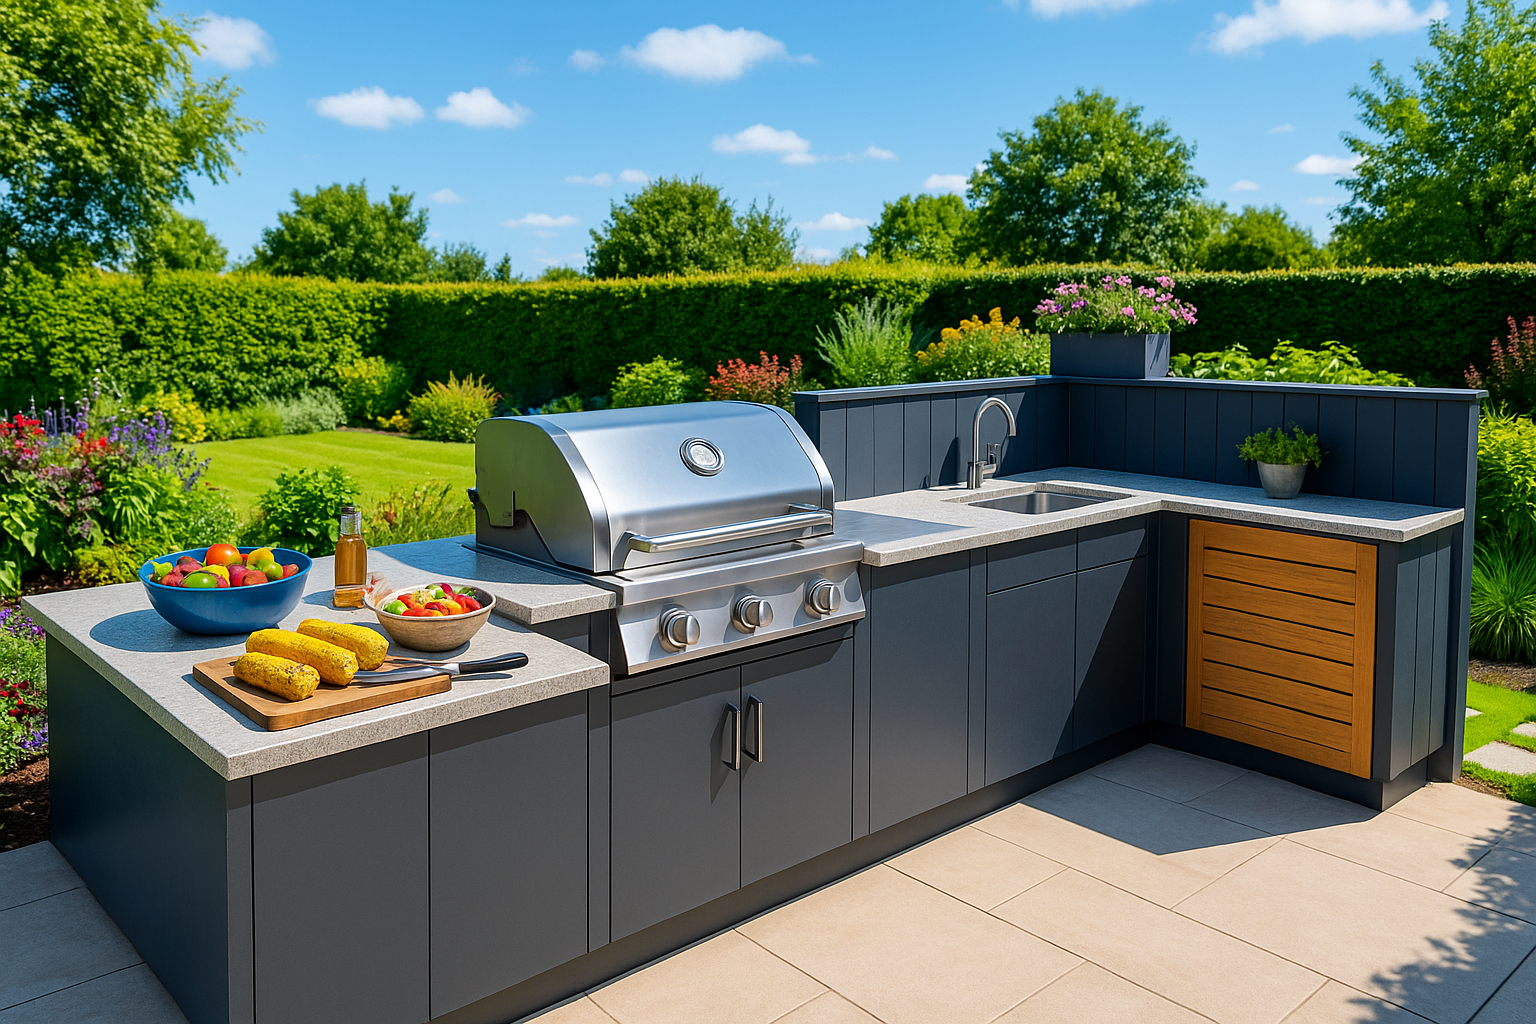
The best outdoor kitchens do not start as showrooms. They start with a small set of reliable pieces that let you cook three nights a week without fuss. Day one is about getting heat, prep space, safe power and lighting in place so the area feels like part of the home rather than an occasional weekend stage. You can always add a pizza oven or a drinks centre later. Begin with a tight kit that works in real weather and you will use it far more.
1. Your primary cooker
Pick one dependable main heat source that suits your habits. Gas is fast to light and easy to control, which makes weeknight meals calm. A ceramic charcoal cooker or a quality kettle brings flavour and huge range, from high searing to low and slow, provided you allow a little more time to reach clean heat. If your garden is tight or smoke sensitive, an electric plancha or a portable induction hob can handle many meals with very low plume. Whatever you choose, insist on a good lid, stable temperature control and enough grill area to feed your household without cooking in five tiny batches.
2. Prep and landing space
A proper worktop on at least one side of the cooker is not a luxury. It is the difference between a relaxed dinner and a juggling act. Aim for a metre of clear prep with a second landing zone where hot trays can rest. Materials that behave outside matter here. Sintered stone and granite shrug off heat and weather. External grade porcelain copes well too. Mid tones hide day to day marks better than very light or very dark surfaces.
3. Tools
A fast read probe thermometer ends guesswork. A solid pair of tongs, a long handled spatula and heatproof gloves cover most tasks. Add a chopping board that stays put and a couple of trays for carrying food out and bringing it back in. Keep a small box outdoors with these essentials so you are not hunting around the kitchen when the grill is ready.
4. Lightings
Cooking by phone torch is funny once. Fit a bright, focused task light aimed at the cooking and prep areas so you can see doneness and read a thermometer. Then add softer ambient light where people sit and move. Warm colour temperatures make food look appealing and help brick or stone feel rich. Put the switch where you can reach it without crossing the hot zone.
5. Power and protection
If you will plug anything in, treat power as part of the starter kit. Outdoor rated sockets on an RCD protected circuit keep things safe and simple. A weather hood or in use cover protects plugs during showers. Plan cable routes so you are not stepping over leads with hot trays. If your cooker is gas, give the cylinder a ventilated store and route flexible hoses where feet and heat cannot reach them.
6. Surfaces underfoot
Feet should stay sure in rain and grease. External porcelain with a tested wet slip rating works well and cleans easily. Textured natural stone performs too if it is specified for outdoor use. Whatever the finish, set gentle falls so water moves away from the house and use a discreet channel drain at thresholds. It is easier to cook when you know the terrace will not become a skating rink after a shower.
7. Simple storage
A couple of weather sealed drawers or a lidded bench close to the cooker will transform your setup. Keep tools, firelighters, gloves and cloths here so you can start quickly. If you use charcoal or wood, store fuel in sealed bins under cover so it lights cleanly and does not perfume the space when damp.
8. Basic safety
Keep a fire blanket within easy reach and a dry powder extinguisher nearby. Respect manufacturer clearances around hot zones, especially beneath pergolas and beside screens or planting. Place the cooker so smoke drifts away from doors and seating most of the year. Lids down cooking and dry fuel reduce odours and keep neighbours happy.
9. A small sink
You can live without a sink on day one. If there is room, a compact bowl with a proper trap and an isolation valve makes prep calmer and clean down faster. In cold climates, fit valves so you can drain the line before hard frosts. If a sink is not possible initially, keep a covered tub for quick rinsing and plan the service for phase two.
Bonus Tip: Starter layout that just works
Place the hot zone at the edge of the terrace with a clear route behind the cook. Put prep to the dominant hand side and a landing zone to the other. Keep at least ninety centimetres of walkway behind anyone cooking so guests can pass without brush by heat. Seating belongs where smoke does not, ideally with a little evening sun and a view of the cook rather than a view of the cooker lid.
First shop checklist
On day one you need fuel, ignition, tools, trays, a thermometer, cloths and a simple cleaning kit.
- For gas, check your regulator and hose are in date and secure.
- For charcoal, choose quality lumpwood or briquettes and a chimney starter.
- For planchas or induction, confirm power and cable reach. Add a mild degreaser, paper towel and a soft brush so you can reset the area in five minutes when you are done.
Starter Kit Menus
Pick meals that show off the new space without stress. Thin steaks, burgers, sausages, skewers, prawns and quick vegetables cover weeknights. Whole chickens, ribs and pizzas can wait until you know your heat and airflow. The aim in month one is frequent use and zero drama.
What to add in phase two
Once you are cooking often, you will know what you miss. Many households add a plancha for low smoke cooking, a small pizza oven for gatherings or a fridge for drinks and dairy. Others add wind control, a simple pergola or side blinds. The best upgrades come from experience, not from a brochure list.
Common mistakes to avoid
- Do not buy a stack of appliances before you have safe prep space and good lighting.
- Do not squeeze the cooker under a solid roof without thinking about extraction and clearances.
- Do not set paving dead flat. Do not forget where fuel, tools and covers will live.
- Do not choose worktop or paving colours that fight the house.
- Test samples outside in sun and shade and when wet so you know how they will feel on real days.
The takeaway
A useful outdoor kitchen begins with a small set of honest pieces that make everyday meals easy. One reliable cooker, real prep space, safe lighting and power, and a surface that drains and grips are enough to start. Keep tools to hand, build simple habits and let the space earn its keep. When you cook more often than you thought you would, you will know exactly which upgrades will bring the most joy.